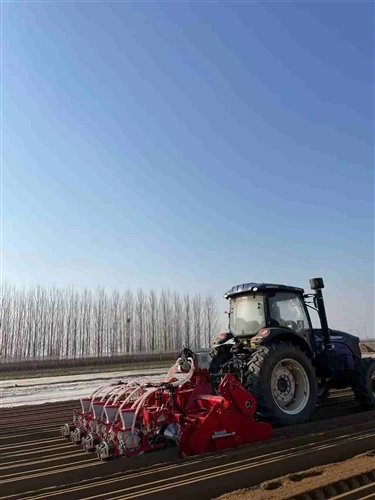
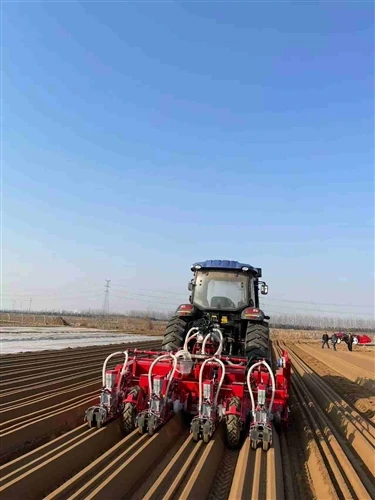
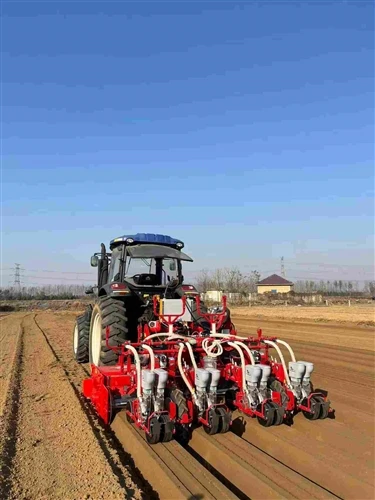
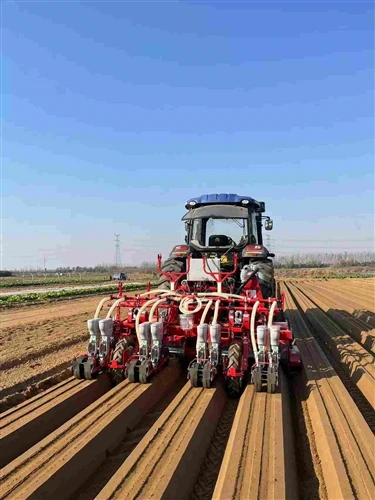
A successful carrot crop starts long before the first seed hits the soil. Proper preparation of both the field and the seeding equipment can make the difference between a uniform stand that delivers high pack-out rates and a patchy emergence that cuts into profitability. For growers using pneumatic precision seeders, a few key steps before heading to the field will ensure the machine performs as designed throughout the planting window.
Field Preparation – Creating the Right Environment
The planting site needs to be cleared of obstacles that could interfere with the seeder's operation. Weeds, stones, crop residue, and straw should be removed from the field surface. Large stones can damage or jam the seeder's working components, while straw and plant debris may wrap around seeding wheels or block metering units, causing skips or inconsistent seed placement. A clean seedbed also allows the depth control system to function properly, as uneven surfaces can cause the floating row units to lose contact with the soil.
Beyond clearing debris, attention should be given to soil structure and moisture conditions. Soil that is too wet can lead to smearing and poor furrow closure, while soil that is excessively dry may not firm adequately around the seed. Where possible, fields should be prepared well in advance to allow soil to settle before planting. This reduces the risk of deep furrows that can cause seeds to be placed too deep. A properly prepared seedbed should be friable, level, and free of compaction layers that could restrict root development once the crop is established.


Seed Preparation – Setting the Crop Up for Success
Carrot seeds require careful handling before they go into the hopper. Begin by sorting the seed lot to remove broken or shriveled kernels, foreign matter, and any damaged seeds. This improves the overall quality of the seed going into the metering system. For raw seed, a pre-soak treatment can help promote more uniform germination, though this step should be timed carefully to avoid damaging the seed or making it difficult to handle in the pneumatic system. Where pelleted seed is being used, it is ready for direct planting without additional treatment. Pelleted seed offers the advantage of a uniform size and shape, which improves the consistency of the vacuum pickup and reduces the risk of doubles or skips.
Growers should also consider the specific variety of carrot being planted, as different varieties may have different seed characteristics that influence metering performance. Some varieties produce lighter seeds that require careful vacuum adjustment, while others may have irregular shapes that benefit from pelleting. If you are using a variety that is new to your operation, it is worth running a small test through the seeder before committing the entire field. This allows you to verify that the metering plates and vacuum settings are appropriate and that the seed flows smoothly through the delivery system.


Machine Inspection – Catching Problems Before They Start
A thorough inspection of the seeder should be carried out before it is hitched to the tractor. Check the seeding units, metering plates, drive chains, and all moving components for signs of wear or looseness. Any worn parts should be replaced, and loose fasteners tightened to the correct torque. The pneumatic system should be tested to confirm that vacuum pressure reaches the specified level and remains stable across all rows. This includes checking all hoses and connections for leaks, which can reduce the suction force and lead to missed seeds.
The seed delivery tubes should be inspected for cracks, blockages, or wear that could interfere with seed flow. Press wheels and depth-control wheels should be checked for even wear and proper inflation. Uneven tire pressure or worn tires can cause the machine to run at an angle, leading to inconsistent depth across the working width. Similarly, the drive chain should be examined for correct tension and lubrication. A chain that is too tight may cause premature wear, while a chain that is too loose can skip or break during operation.
All adjustment mechanisms should be operated through their full range to ensure they move freely and lock securely. This includes row spacing adjustments, depth settings, and any hydraulic or pneumatic controls. Grease fittings should be serviced according to the schedule in the operator's manual, using the recommended grades of lubricant. Special attention should be given to bearings, which can seize if they run dry. A well-lubricated machine runs smoother, suffers less wear, and is less likely to experience breakdowns during critical planting hours.

Final Pre-Field Checks – Giving Yourself the Best Start
On the day of planting, before the seeder enters the field, a few additional checks are worth performing. Fill the hoppers with a small quantity of seed and run the machine briefly while stationary to confirm that the metering system is picking up and releasing seed correctly across all rows. This allows you to catch any last-minute issues without having to stop midway through the first pass.
Check that the tractor is set to the correct PTO speed and that all safety shields are in place. Ensure that the operator understands the monitoring system, knows how to interpret the display, and is familiar with the procedure for clearing blockages quickly. Planting days are long, and conditions can change rapidly-being prepared and having a clear routine for checking the machine can save time and reduce stress during the busy planting season.
By taking the time to prepare the field, treat the seed appropriately, and inspect the seeder thoroughly, growers can approach planting with confidence. A well-prepared setup not only improves planting accuracy but also reduces the risk of costly delays and repairs. It is one of the most effective ways to protect the investment in both the crop and the equipment.